
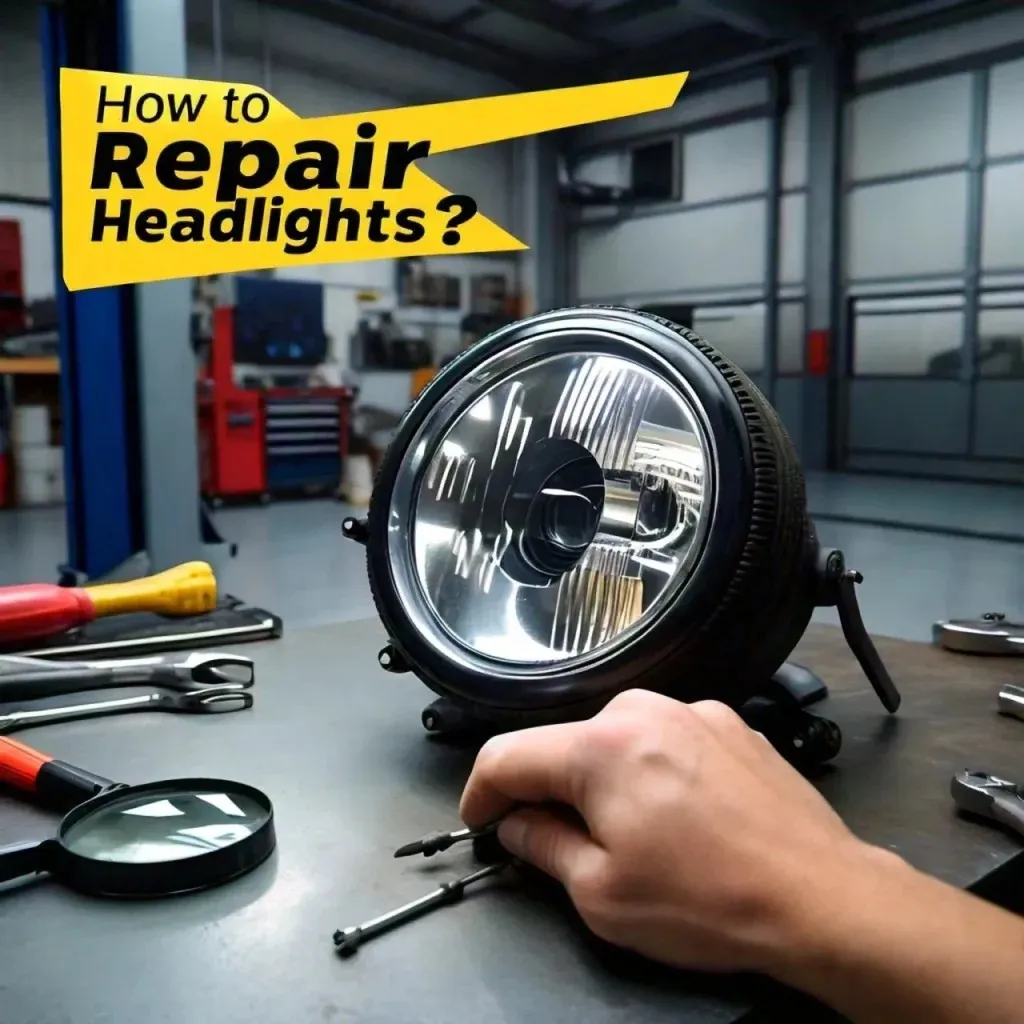
How to Repair Car Headlights?
Having clear and well-maintained headlights is essential for safe driving, especially at night or in low-light conditions. While taking care of your vehicle, don’t overlook your headlights. Over time, they can become foggy, yellowed, or even develop cracks, reducing visibility and compromising safety on the road. If your headlights need restoration, this guide will walk you through the process step by step.
Open Today · Same-Day Appointments Available
Need expert car repair in Abu Dhabi?
Our certified technicians handle all makes and models. Fast diagnosis, honest pricing, and quality you can trust.
✓ Free inspection
✓ 30-min callback
✓ Trusted by 1,000+ drivers
Or fill the contact form →
Signs That Your Car’s Headlights Need Repair
Regularly inspecting your headlights can help prevent potential issues. Here are some common signs that indicate it’s time for a headlight restoration or replacement:
Reduced Visibility
If your headlights seem dim or do not illuminate the road as effectively as they used to, oxidation or damage may be the cause. Cloudy or yellowed lenses can block light output, making night driving more dangerous.
Foggy or Yellowed Headlights
Exposure to UV rays, road debris, and harsh weather conditions can cause your headlight lenses to appear hazy or yellow. This not only looks unappealing but also affects performance.
Physical Damage
Cracks, chips, or deep scratches can affect the efficiency of your headlights. Small scratches can often be polished out, but extensive damage may require a complete replacement.
Aging Headlights
If your car is more than five years old, your headlights may have experienced wear and tear from prolonged exposure to environmental factors. Regular maintenance can help extend their lifespan.
Vehicle Inspection Failure
In some regions, regular vehicle safety inspections are required. If your car fails an inspection due to faulty or dim headlights, a repair or replacement is necessary.
Step-by-Step Guide to Headlight Restoration
Step 1: Assess the Damage
Before starting, determine the extent of the damage. Whether it’s oxidation, discoloration, or physical damage, this evaluation will help you choose the right restoration method.
Step 2: Gather the Necessary Materials
To restore your headlights, you will need:
Headlight restoration kit (available at auto parts stores)
Sandpaper (400 to 3000 grit)
Masking tape
Microfiber cloth
Protective gloves
Safety glasses
Drill with a polishing attachment (optional)
Step 3: Clean the Headlights
Wash the headlights thoroughly with mild soap and water to remove dirt and debris. Rinse and dry them with a clean microfiber cloth.
Step 4: Protect Surrounding Areas
Use masking tape to cover the edges of the headlight frame. This prevents accidental damage to the surrounding paint and trim during sanding and polishing.
Step 5: Sand the Headlights
Start with coarse sandpaper (400 grit) and gradually move to finer grits (up to 3000 grit). Keep the surface wet to ensure even sanding. This removes oxidation and restores clarity.
Step 6: Polish the Headlights
Apply a headlight polishing compound using a microfiber cloth or a drill attachment. Polish in circular motions until the surface becomes smooth and clear.
Step 7: Apply a UV Protection Coat
To prevent future oxidation, apply a UV-resistant sealant or clear coat. Follow the manufacturer’s instructions for the best results.
Step 8: Final Inspection and Cleanup
Once the clear coat dries, remove the masking tape and wipe down the headlights. Inspect them for clarity and ensure they function properly.
Repair vs. Replacement: What’s Best for Your Headlights?
When to Repair
If your headlights have minor oxidation, yellowing, or small scratches, a restoration process can improve their performance and appearance. This is a cost-effective solution compared to a full replacement.
When to Replace
If your headlights are severely damaged due to a collision or deep cracks, or if the internal components (bulbs, reflectors, or wiring) are faulty, replacing the entire headlight assembly is the best option.
Not sure whether to restore or replace your headlights? Exotic Auto Services can help. Our experienced technicians provide professional headlight restoration and replacement, ensuring your car stays in top condition.
Additional Car Care Services for a Flawless Finish
To maintain your car’s aesthetics and protection, consider our other specialized services:
Car Polish & Ceramic Coating: Enhance your car’s shine and protect its paint from environmental damage.
Car Tinting: Improve visibility and protect your interior from harmful UV rays.
Paintless Dent Repair: Fix minor dents without repainting your car.
Car Spa & Detailing: Keep your car looking spotless inside and out.
Rim Protection: Safeguard your wheels from curb damage and wear.
Tips for Keeping Your Headlights in Good Condition
Clean your headlights regularly with mild soap and water to prevent dirt buildup.
Apply a UV-resistant sealant every few months to reduce oxidation.
Park in shaded areas or indoors to minimize exposure to harsh sunlight.
If your headlights develop deep cracks or internal damage, opt for a professional replacement service.
Conclusion
Restoring your car’s headlights is an effective way to improve both its appearance and safety. By following this guide, you can achieve clear and bright headlights, enhancing your nighttime visibility and overall driving experience. If you prefer professional assistance, Exotic Auto Services offers expert headlight restoration and a range of other car care solutions to keep your vehicle in excellent shape.
Book an appointment today, and let our experts handle your headlight repair with precision and care.


Frequently Asked Questions
How often should I restore my car's headlights?
How often you need to have your headlights fixed varies on a number of things, including how you drive, the weather, and how old your car is. In general, you should think about headlight repair if you notice that your headlights are getting foggy, yellow, or less effective. About every two to three years, headlights may need to be fixed.
Can I use household items to restore my headlights?
Common household items like baking soda or toothpaste are often mentioned as ways to fix headlights. However, these methods may only work temporarily and could even damage your headlights. For the best results, use a headlight repair kit that comes with the right tools and compounds made just for this job.
How long does the headlight restoration process take?
The length of time it takes to fix your headlights depends on how bad the damage is and how big your headlights are. The whole process can take anywhere from one to two hours on average. But if you’ve never fixed up a headlight before, you should give yourself more time to make sure you can work carefully and get the best results.
Is it necessary to apply a UV-resistant clear coat after restoration?
Yes, it is very important to use a UV-resistant clear coat after fixing the headlights. This clear coat helps keep the headlights from rusting, turning yellow, and getting damaged by UV rays and other things in the environment. If you don’t do this step, your headlights may break down faster and need to be fixed more often.
Can I restore my headlights if they have deep scratches or cracks?
Headlight restoration kits can get rid of small scratches and damage to the surface, but deep scratches or cracks may need more intensive repairs or even a new headlight. Should your headlights have major damage, you should talk to a professional car service like Exotic Auto Services to figure out what to do next.