If your car feels shaky while driving or you hear clunking noises when going over bumps, your control arm might be worn out. The control arm connects the wheels to the car’s frame and helps your car drive smoothly. Replacing a control arm can seem hard, but with the right steps and tools, it can be done at home.
To replace a control arm, first, lift the car and remove the wheel. Then, disconnect the ball joint and control arm bolts. After that, remove the old control arm and install the new one. Finally, reconnect everything and test the car. Always check your car’s manual before you begin. This guide will help you safely and easily replace a control arm.
What Is a Control Arm and What Does It Do?
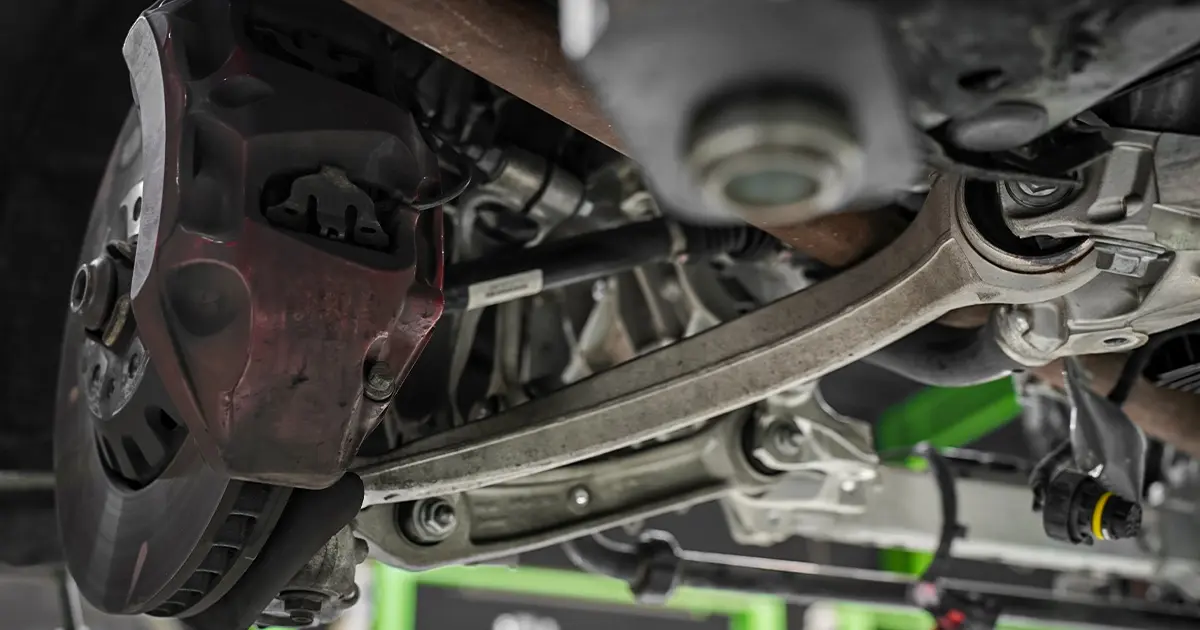
The control arm is part of a car’s suspension system. It connects the wheel hub to the car’s frame and helps the wheels move up and down. This helps your ride stay smooth, even on bumpy roads. Most cars have both upper and lower control arms, especially on the front wheels.
The control arm also holds the ball joint, which lets your wheels turn left and right. If a control arm is bent or the bushings are worn out, it can affect your steering and make your tires wear out faster.
Signs Your Control Arm Needs Replacing
It’s important to know when a control arm needs to be replaced. Here are some common signs:
- Clunking noise when driving over bumps.
- Steering feels loose or shaky.
- Tires are wearing out unevenly.
- The car pulls to one side.
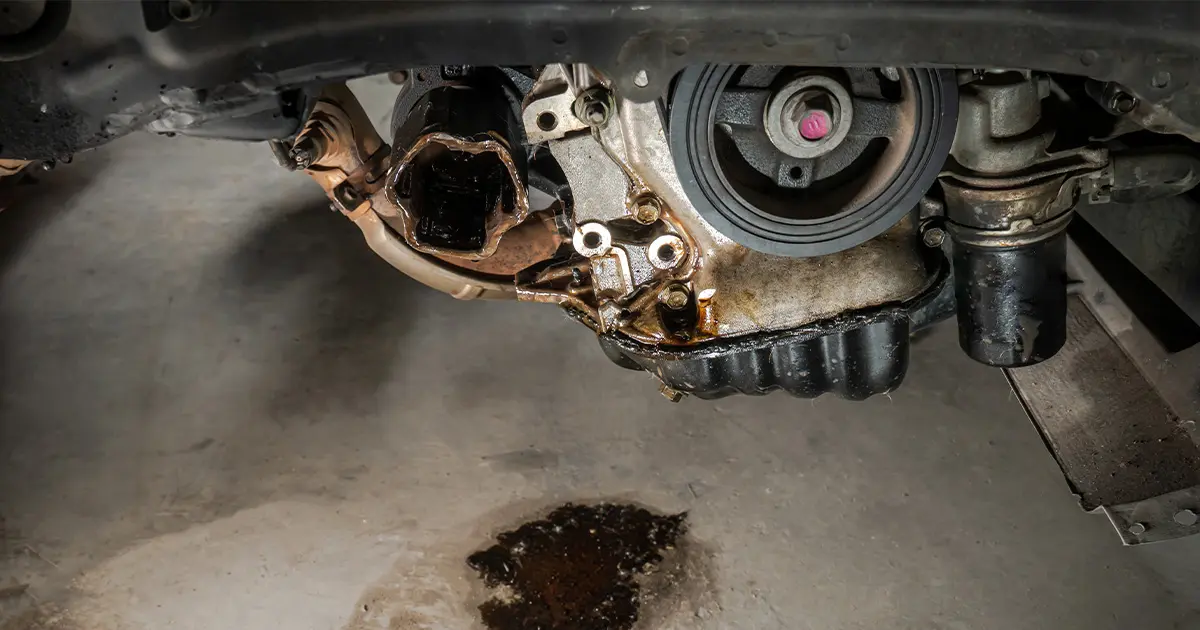
- Visible damage to the control arm.
If you notice any of these issues, check the control arm or ask a mechanic to inspect it.
Tools You’ll Need Before You Start
Before you start the job, gather the tools you’ll need. Having the right tools makes the process easier and safer.
- Jack and Jack stand
- Lug wrench
- Socket and ratchet set
- Breaker bar
- Ball joint separator
- Torque wrench
- New control arm (upper or lower)
- Safety gloves and glasses
Always park your car on a flat surface and use wheel chocks for safety.
Step-by-Step Procedure To Replace Control Arm (Upper or Lower)
Here are the easy steps that help you replace the control arm of your car:
Step 1: Lift the Car and Remove the Wheel
Use a jack to lift the car and place it securely on jack stands. Make sure the car is stable before you start working. Use a lug wrench to remove the wheel from the side with the bad control arm.
This will give you access to the suspension system. Place the wheel under the car as an extra safety step in case the jack stands fail.
Step 2: Disconnect the Ball Joint
Locate the ball joint where the control arm connects to the steering knuckle. Use a wrench or socket to remove the ball joint nut. Then, use a ball joint separator or a hammer to gently loosen it.
Be careful not to damage nearby parts. This step may take some force, as the joint can be tight from years of use.
Step 3: Remove the Control Arm Bolts
Next, find the bolts that attach the control arm to the car’s frame. These bolts hold the control arm in place. Use a breaker bar or ratchet to loosen and remove them.
Once the bolts are out, carefully pull the old control arm from its position. Keep the bolts safe if you plan to reuse them.
Step 4: Install the New Control Arm
Position the new control arm in place. Line up the bolt holes with the frame and insert the bolts. Tighten them by hand first, then use a torque wrench to make sure they are secure. Reconnect the ball joint and tighten it to the correct torque setting.
If your new control arm came with bushings or a ball joint already installed, this step will be quicker. Always check the instructions that come with your part.
Step 5: Reattach the Wheel and Lower the Car
Put the wheel back on and tighten the lug nuts. Use the jack to lift the car slightly, remove the jack stands, and lower the car to the ground.
Once the car is back on the ground, use a torque wrench to tighten the lug nuts to the proper setting. Take the car for a short drive to make sure everything feels normal.
When to Replace Upper vs. Lower Control Arm?
Most lower control arms wear out faster because they carry more weight. Upper control arms can also go bad, especially if your car has a double wishbone suspension. If only one arm is damaged, you don’t have to replace both, but it’s a good idea to check them both.
If your mechanic says both arms are worn out, replacing them together can save time and labor costs.
Conclusion
Replacing a control arm is a job you can do at home with the right tools and safety steps. Always check your car’s manual and torque settings. Fixing a bad control arm will help your car handle better, stop strange noises, and prevent tire damage.
Whether it’s the upper or lower arm, knowing how to replace a control arm can save you money and make your car safer to drive.
Need help or want a pro to do it for you? Contact Exotic Auto Services today for expert suspension repairs and top-notch service.